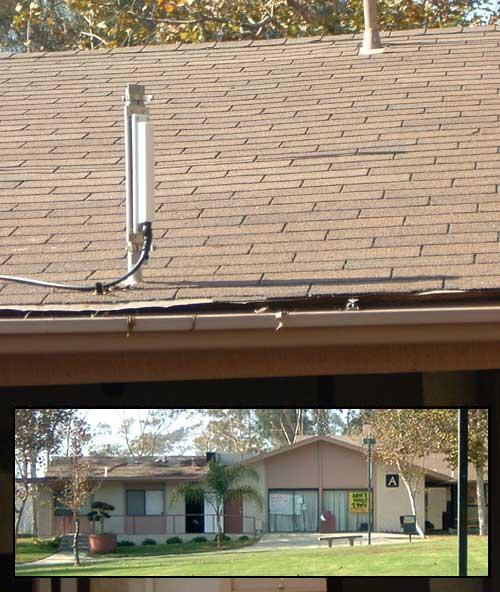
| Point to multi-point 802.11a links are used between the buildings. Here we see a photo of one of the 802.11a antennae on the roof of Building A.
The inset photo shows Building A as viewed from one of the apartment buildings that link to it. Two of the Building A antennae are visible -- one is on the roof above the potted plant and the other is just to the left of the pole in the foreground.
Buildings A and X each have three antennae which link to two or more apartment buildings. Each apartment building has an antenna that points back to either Building A or X.
Installing a network may cost more than the equipment. The antenna mounts must be stable so they do not move in the wind, and any openings in the roof or walls must be well sealed to avoid leaks.
Note the relatively heavy cable connecting the antenna back to the 802.11a radio. To have a good view of the apartment buildings it is serving, the antenna had to be mounted far from the radio, so high quality (expensive) cable was used to reduce signal attenuation.
|
|
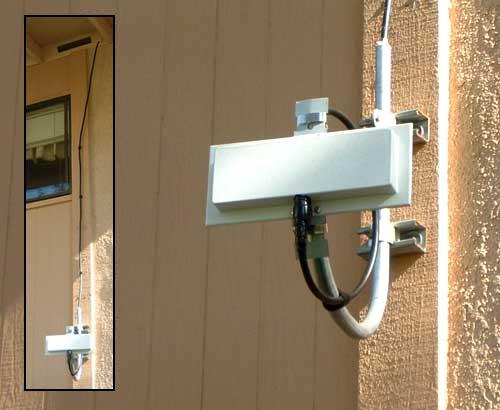
| This is an 802.11a antenna on the side of one of the apartment buildings. In the inset, you see the cable running up toward the roof, and through the attic to the radio inside the building.
Exterior grade cabling was used since it will be exposed to sunlight and rain. |
|
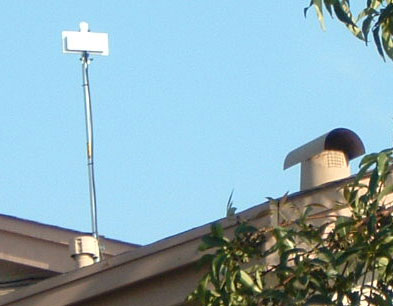
| To clear trees and other buildings, some of the apartment building antennae had to be mounted on masts on the roof. The antennae had to be mounted high enough to assure line-of-site links without trees or other objects in the fresnel zone. (In this case, some trees had to be trimmed).
|
|
| This is the floor plan of a three-bedroom apartment. The radio stack is located on the second floor (red). It contains an 802.11a radio for back haul and two 802.11g radios for access by the students living in the building. One of the 802.11g antennae is right near the radio stack (green), and the other is in the adjoining apartment. The 802.11a radio is mounted outside the building (green).
Radio locations were chosen to minimize the lengths of cables running to the antennae and, when possible, to be near power outlets.
|
|
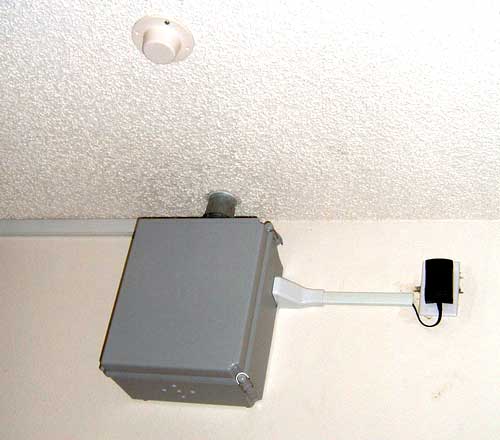
| The radio stack is enclosed in this box, and one of the 802.11g antennae is on the roof next to it. The other one is in the adjoining apartment. Note that a power outlet had to be installed next to the radios. The cables to the antennae are in conduits in the attic.
As with the external antennae, the cost of electrical outlets, conduit, mounting hardware, etc. can exceed the cost of the radios.
|
|
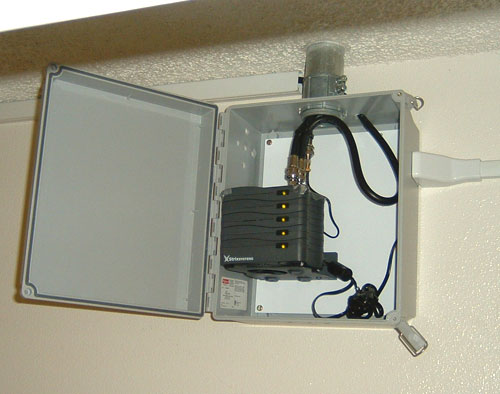
| With the box open we see a base unit, two 802.11g radios, an 802.11a radio and the antenna interface.
|
|
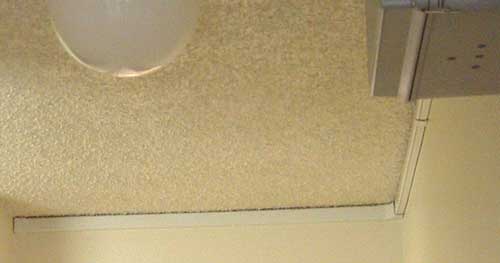
| This conduit connects one of the 802.11g radios to an antenna in the adjacent apartment.
|
|
| Students Krystel Hilliard and Lizet Moreno were happy to see the testing begin.
|

|
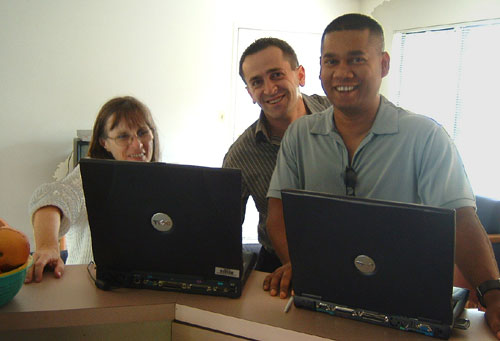
| Lynn Anderson, Edgar Lazarian, and Mahabub Alam did the acceptance testing. The measured signal strength within the apartments and file transfer speed back to buildings A and X.
|
|
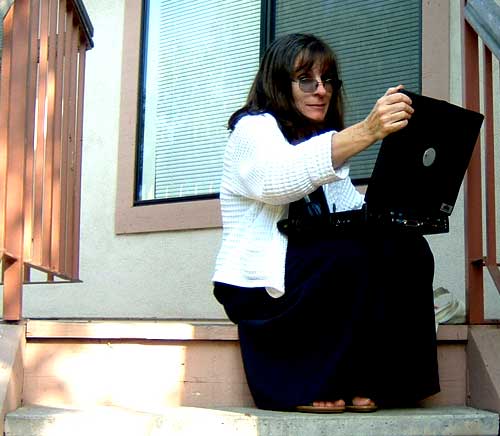
| The network is accessible from outside the buildings as well; however, the walls attenuate the signal strength and interference from adjacent buildings is more likely.
|
|